
We had some old t-shirts laying around and decided to try and make a t-shirt scrap headband in her school colors royal blue and white. It took us a while to figure out how to make it but we were pleasantly surprised with the results. It didn’t cost us anything to make because we used our old t-shirts instead of making them into old rags. We just don’t like to waste anything around here. Well you know how I like to share everything we do with you so here ya go!
DIY T-Shirt Scrap Headband
Supplies
- 3 pieces of white t-shirt cut to approximate 2” wide & 24” long
- 3 pieces of blue blue t-shirt (any colors that you choose will do) cut to approximately 2” wide & 24” long
- Additional t-shirt scraps in smaller pieces for creating flowers
- Needle & thread (and sewing machine if available)
- Scissors
Step 1
Start with six strips of fabric all the same length (if your unsure of how long to make it go for longer, it’s easier to cut some off in the end). Separate the strips into thirds, each strand containing a strip of each color.
Step 2
Braid the pieces together using a simple braid.
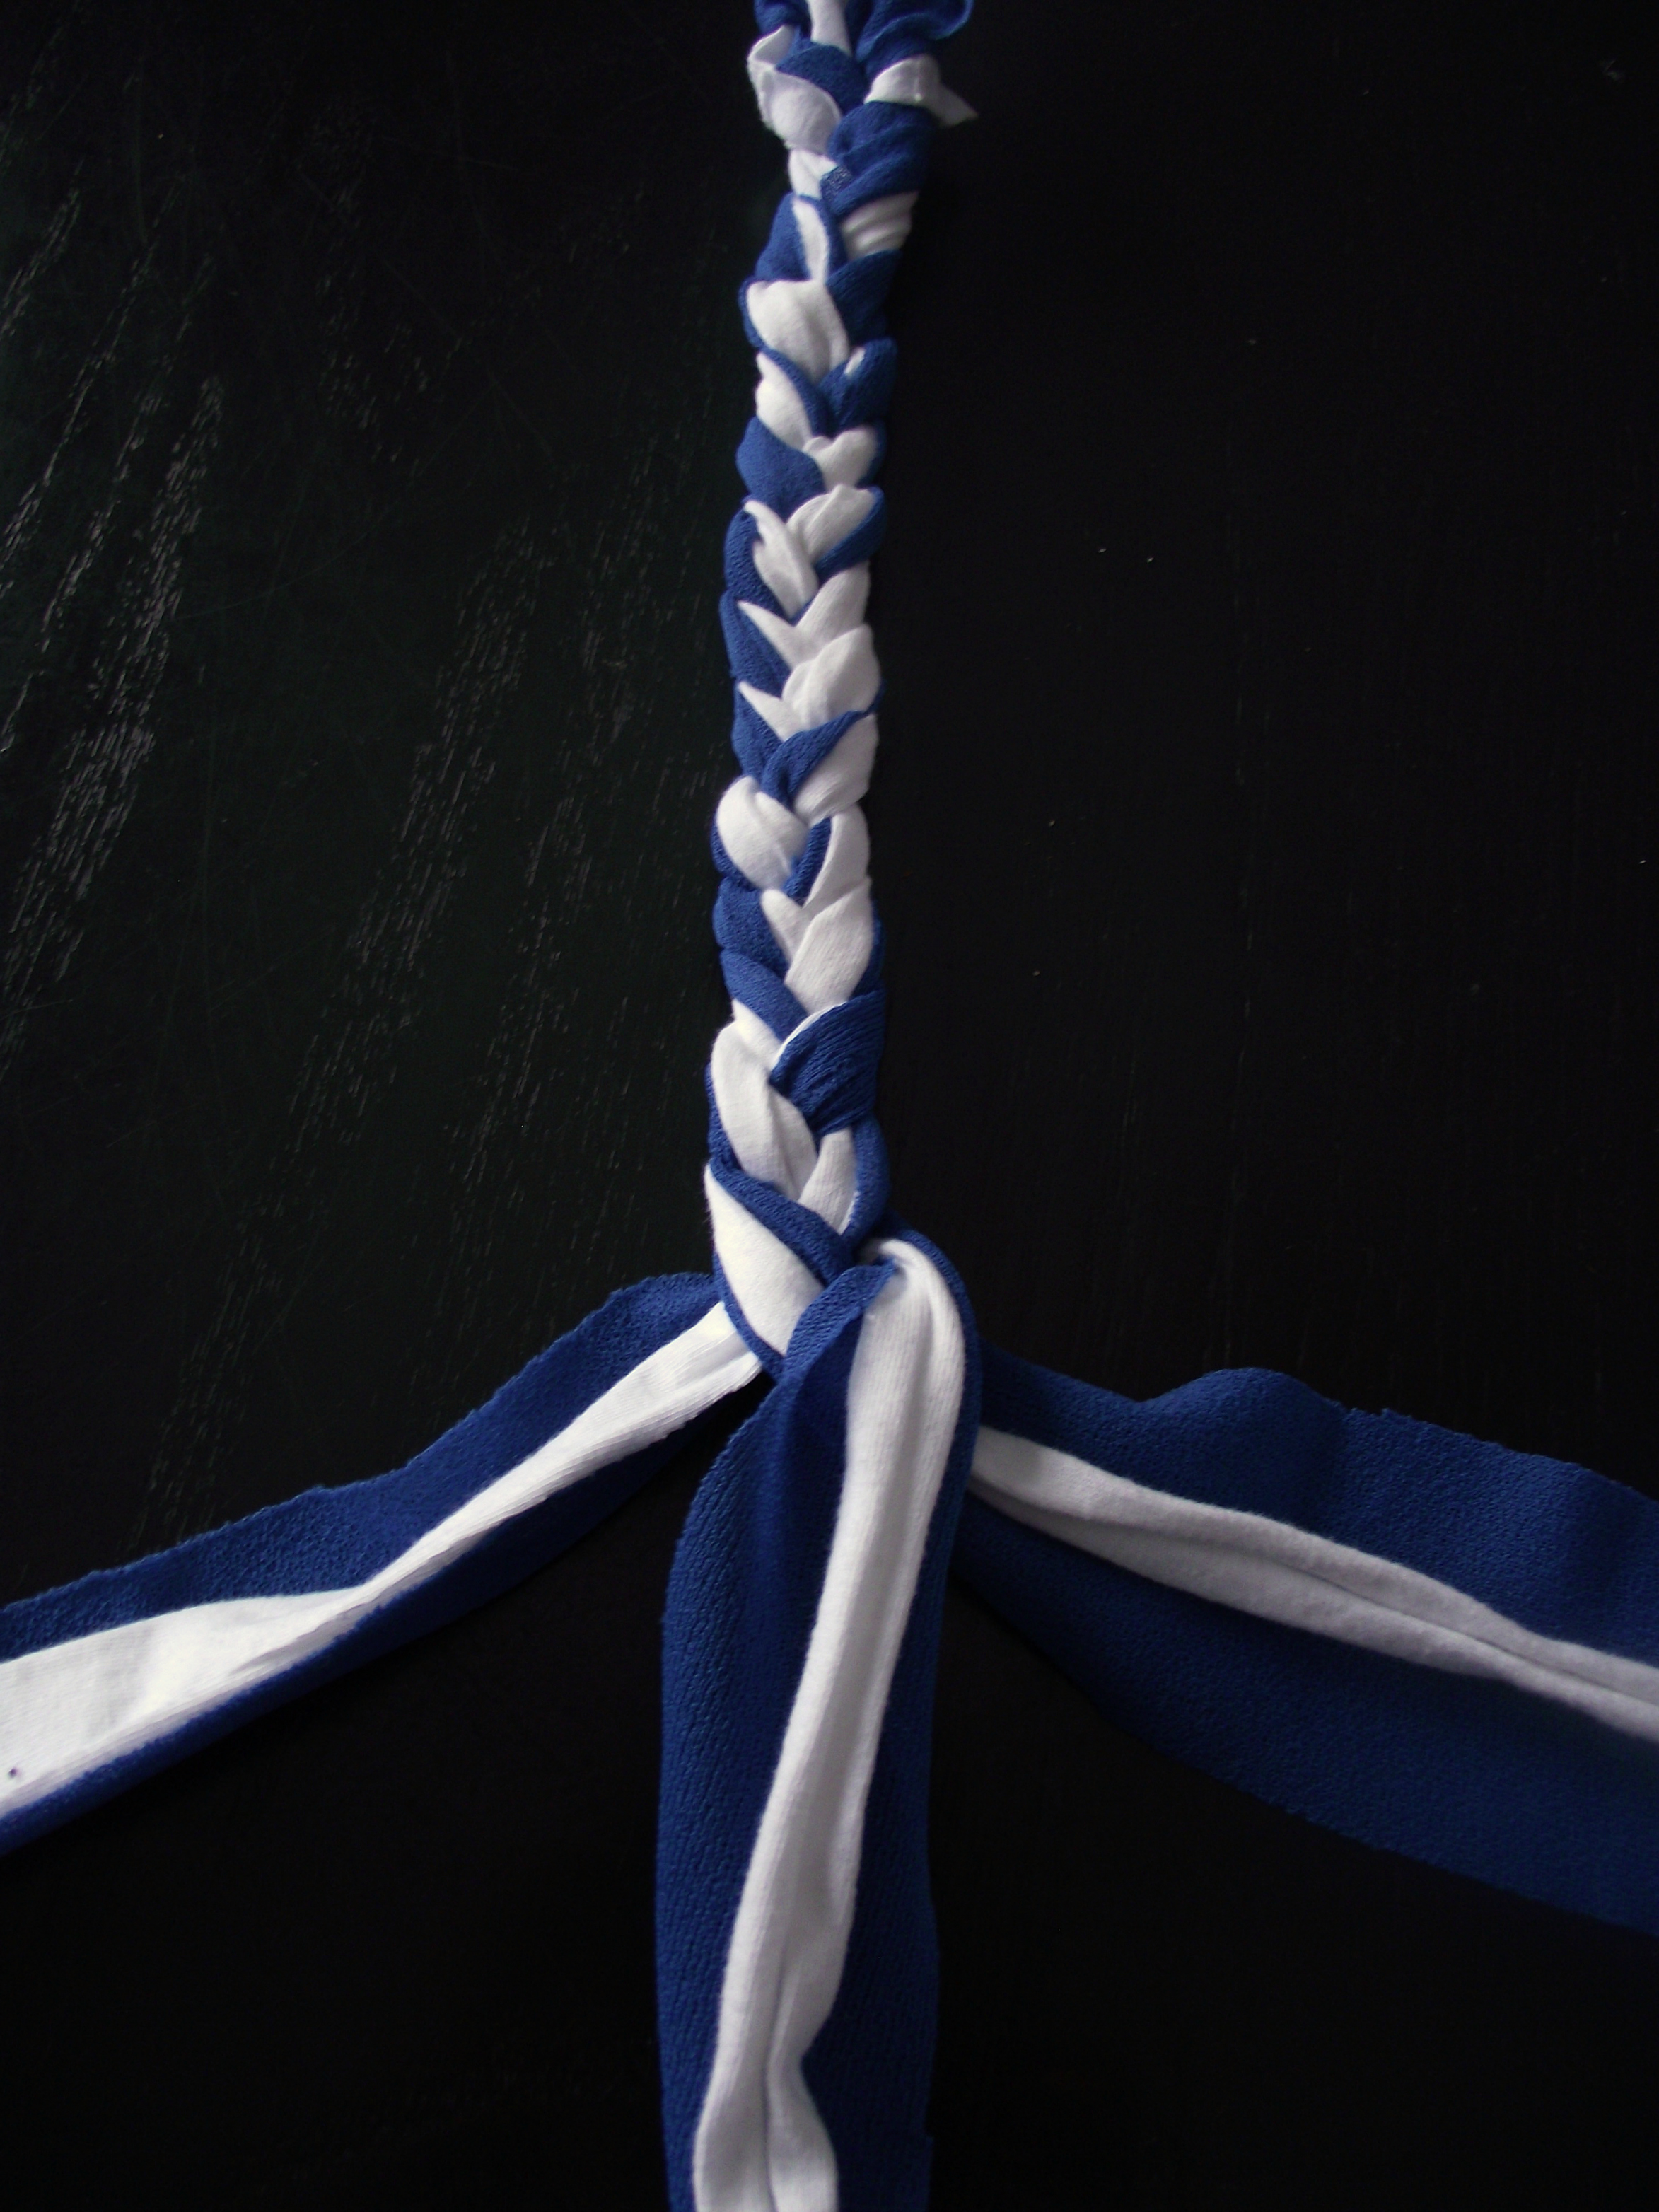
Step 3
Keep braiding until you reach the end of your rope (no pun intended). Sew or knot the bottom end.
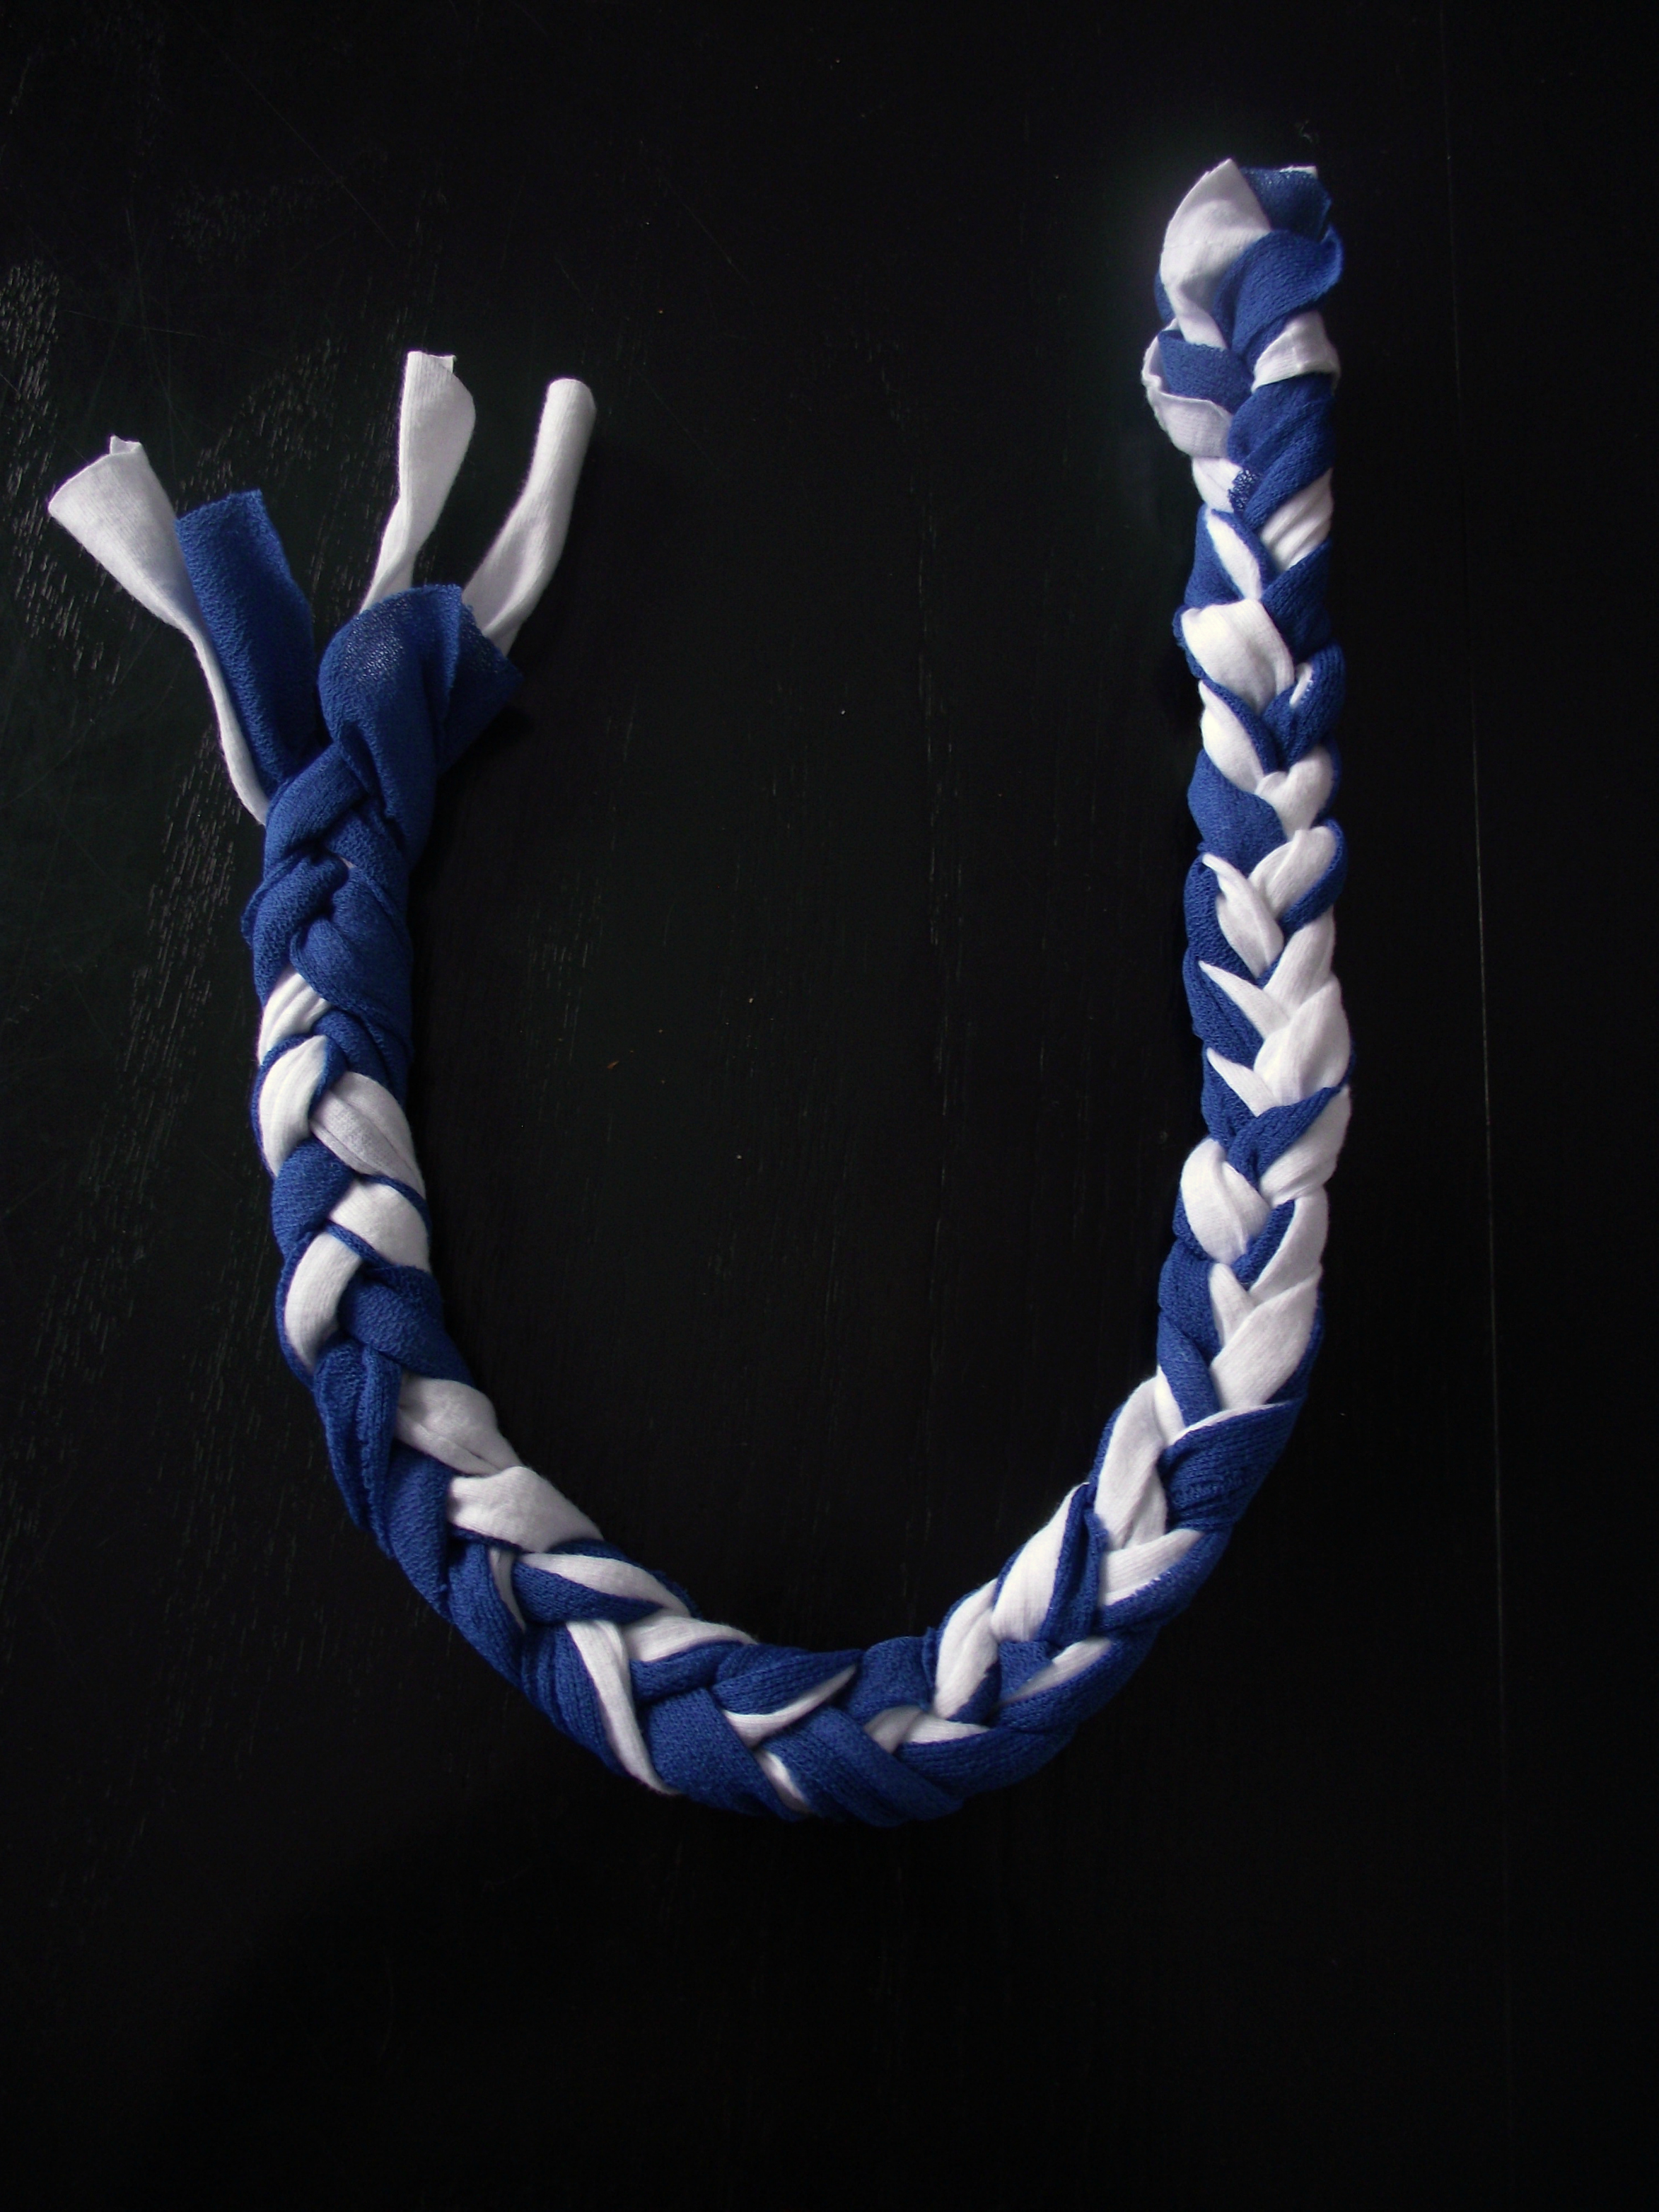
Step 4
Turn the headband inside out and sew the opposite ends together.
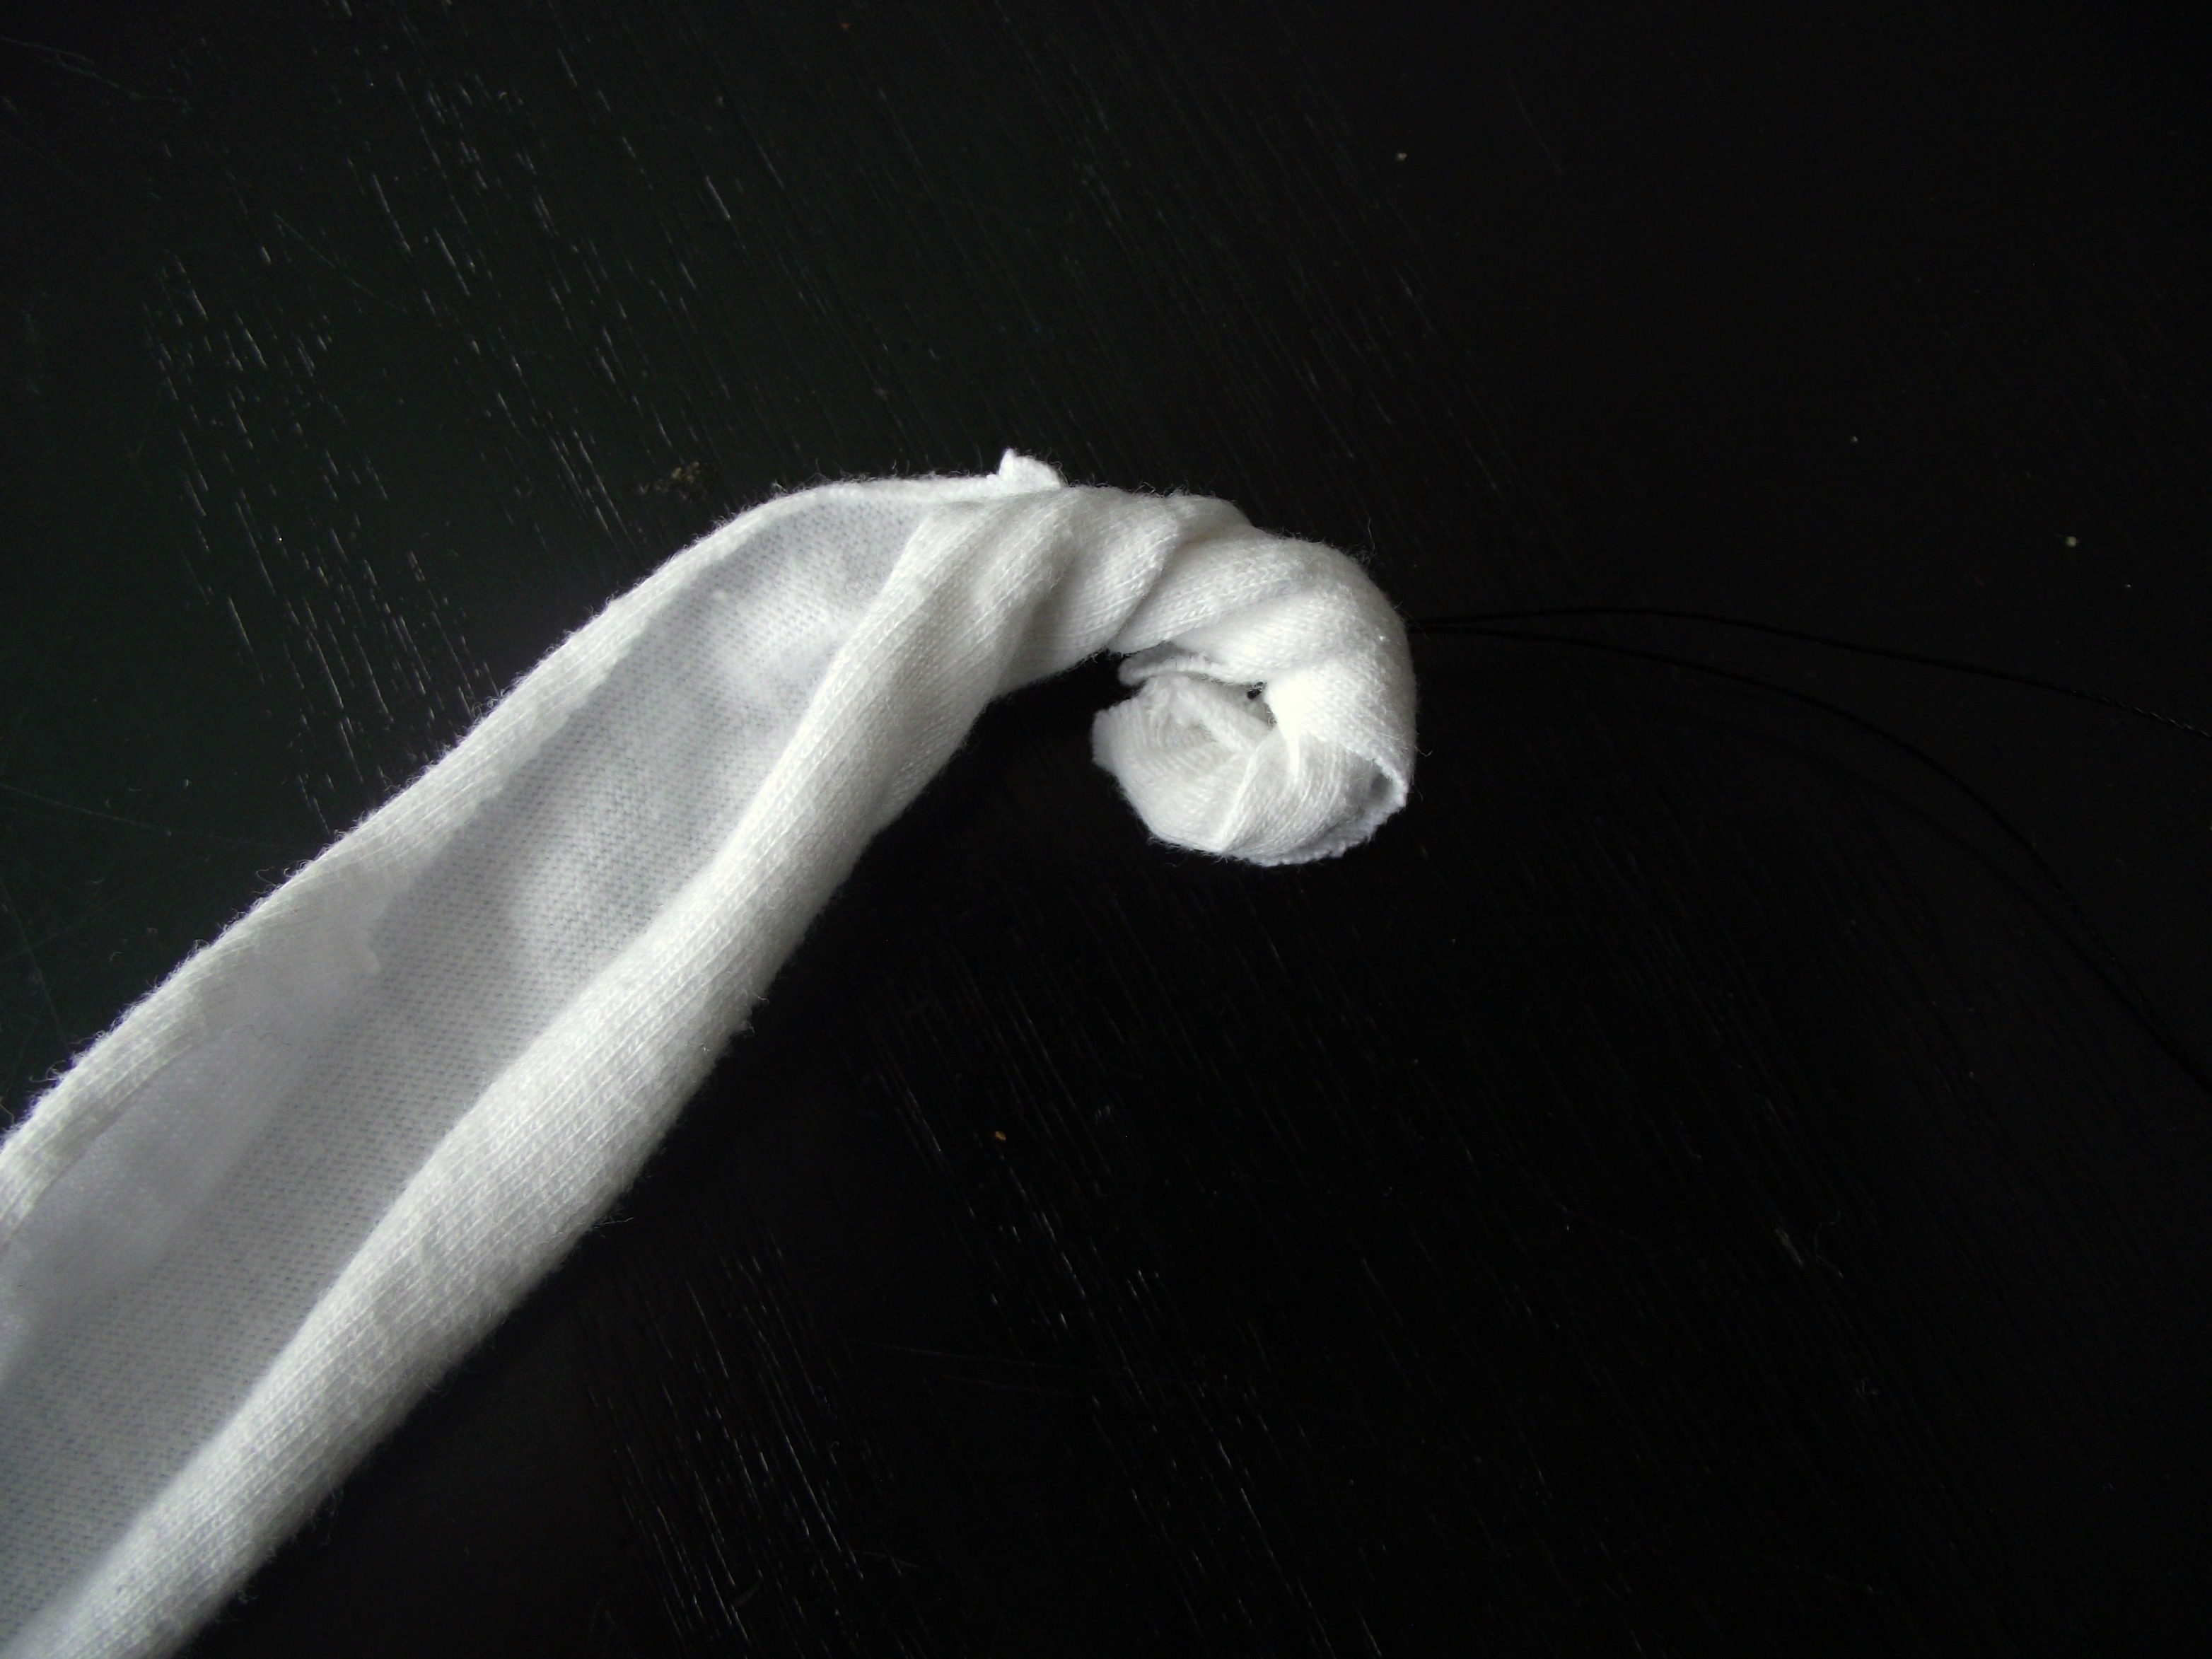
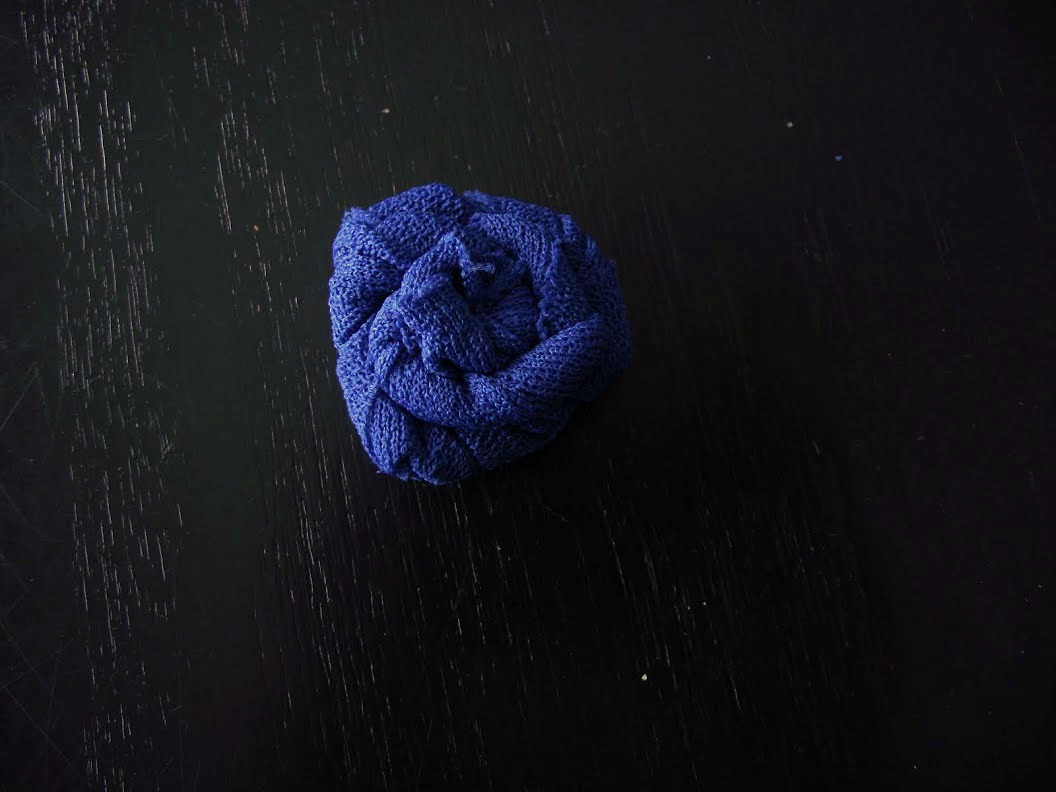
Step 5
Begin twisting & rolling a strip of fabric for the first flower. Start a coil by and tacking it together with your needle and thread. Continue to roll and twist into the coil, tacking it together until you’ve created a flower the size you desire.

Step 7
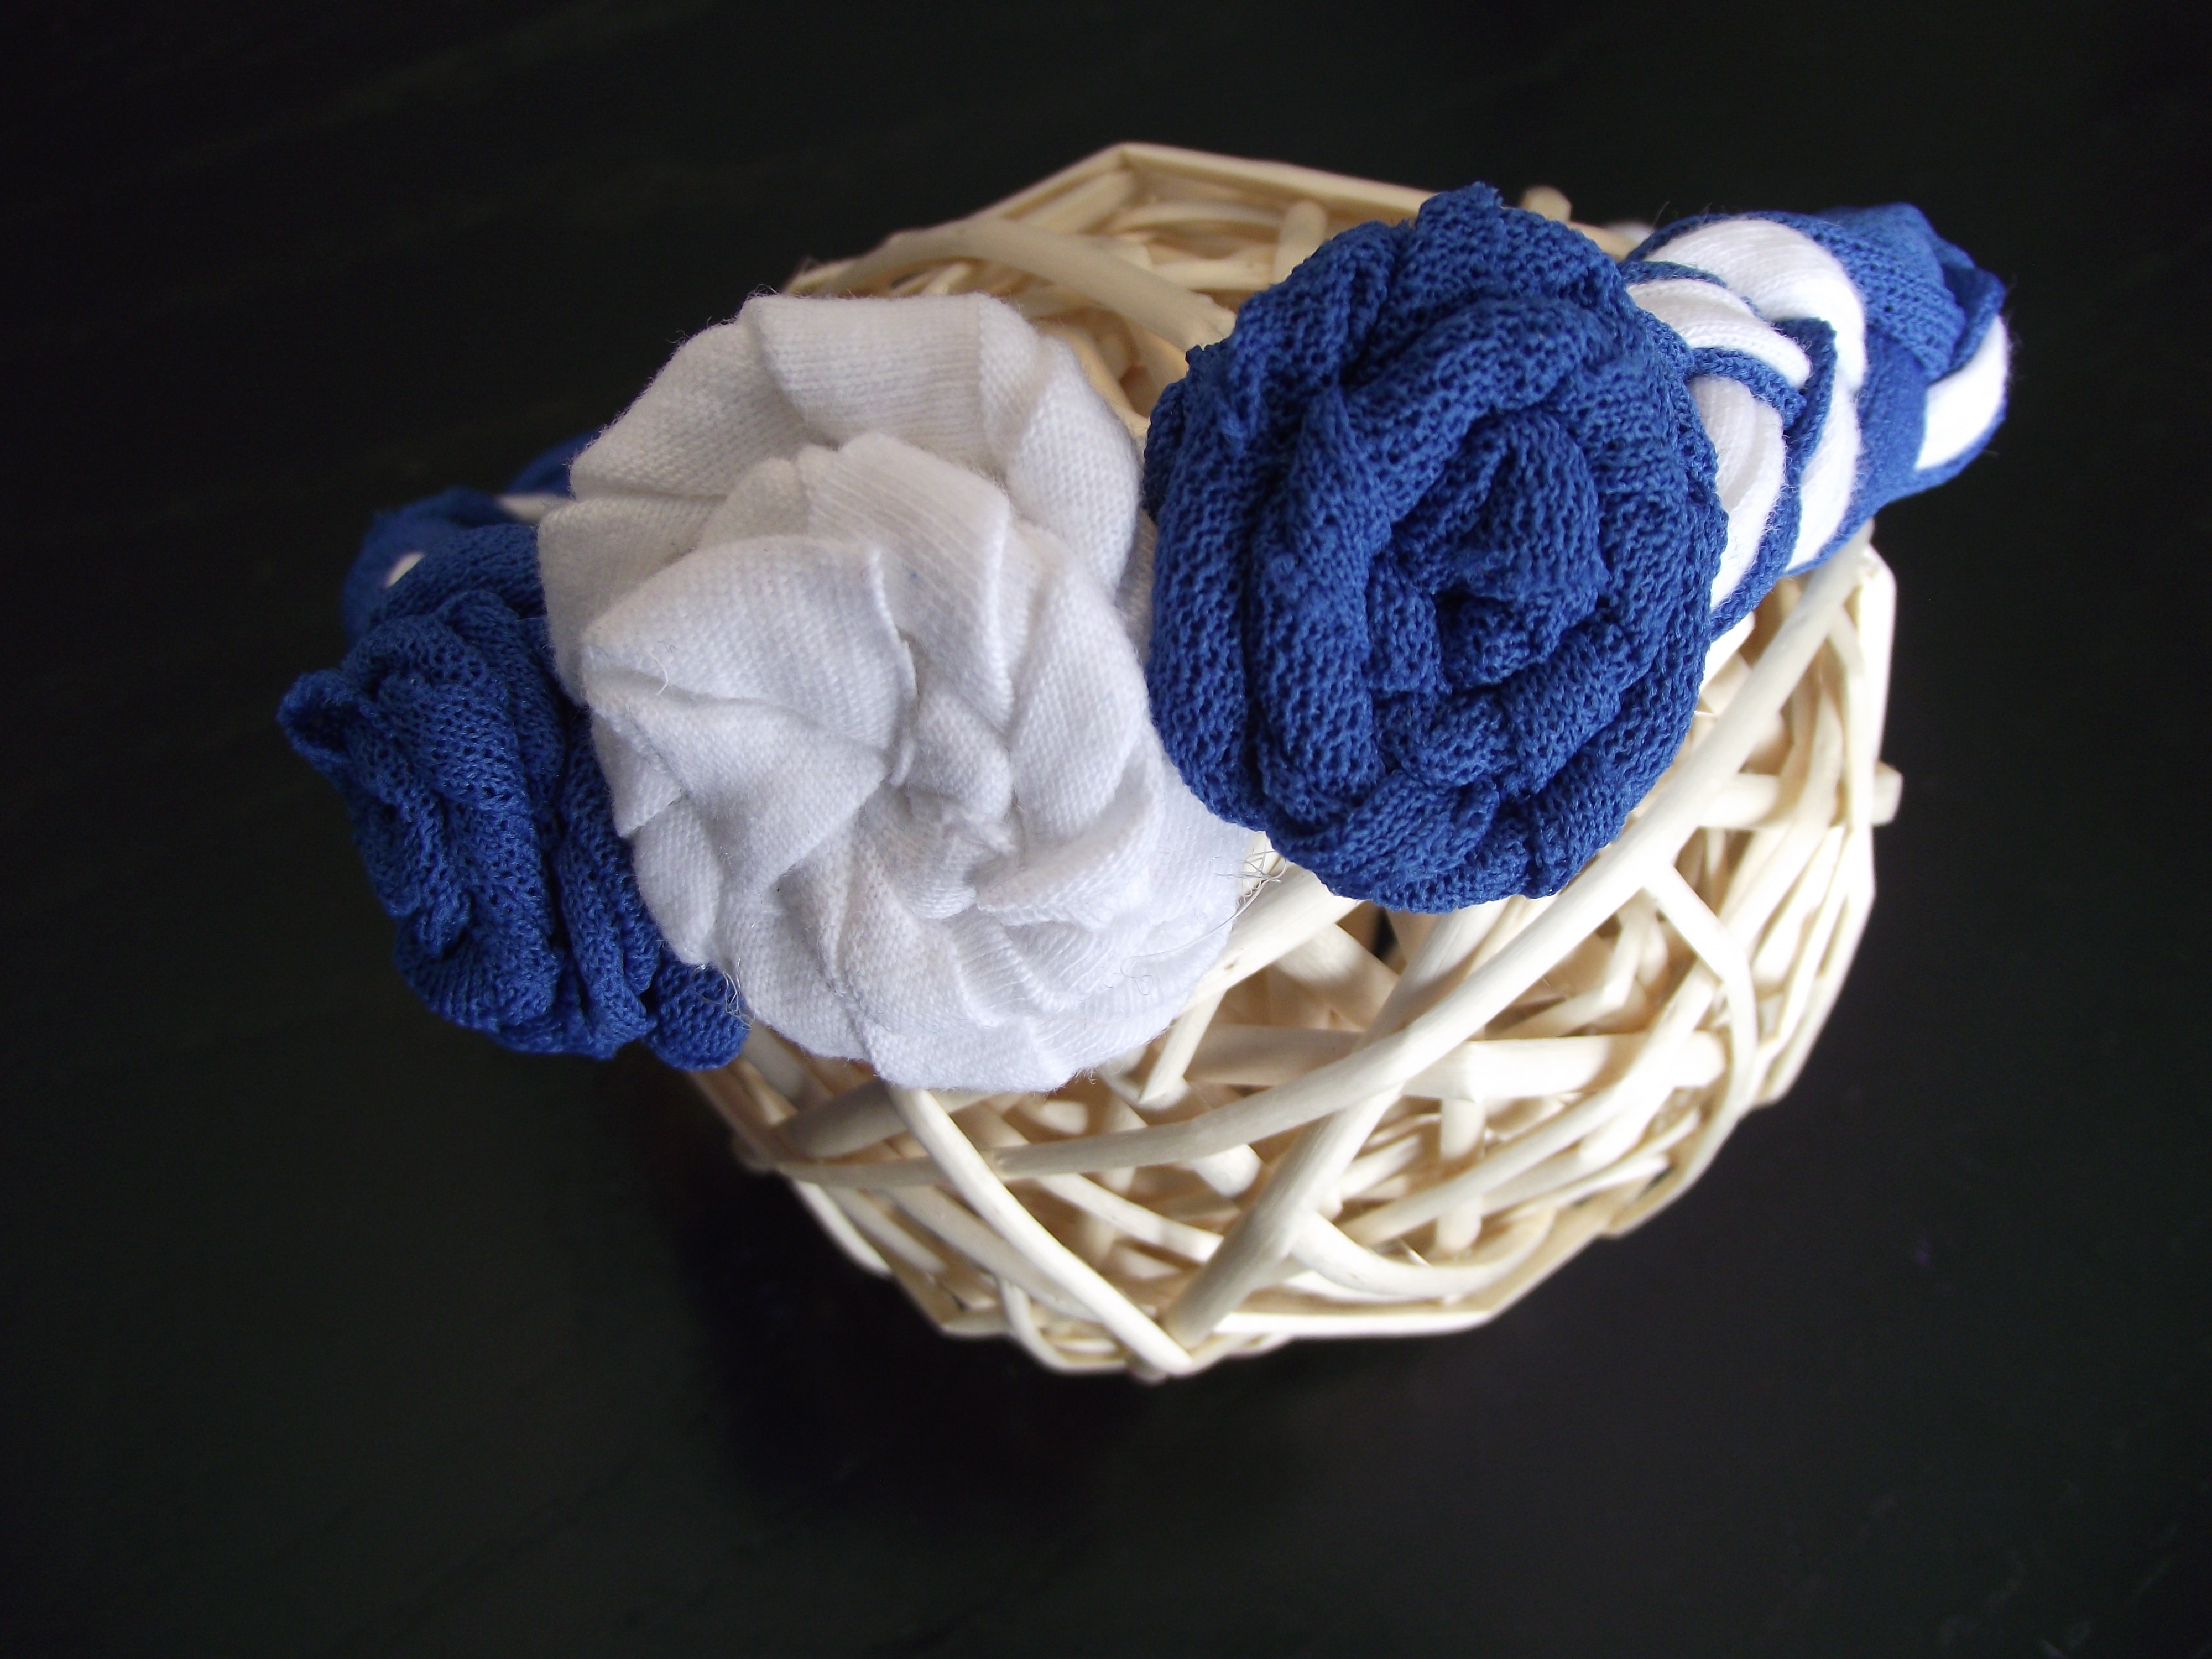
Repeat with additional sizes & colors of strips to create a desired number of flowers.
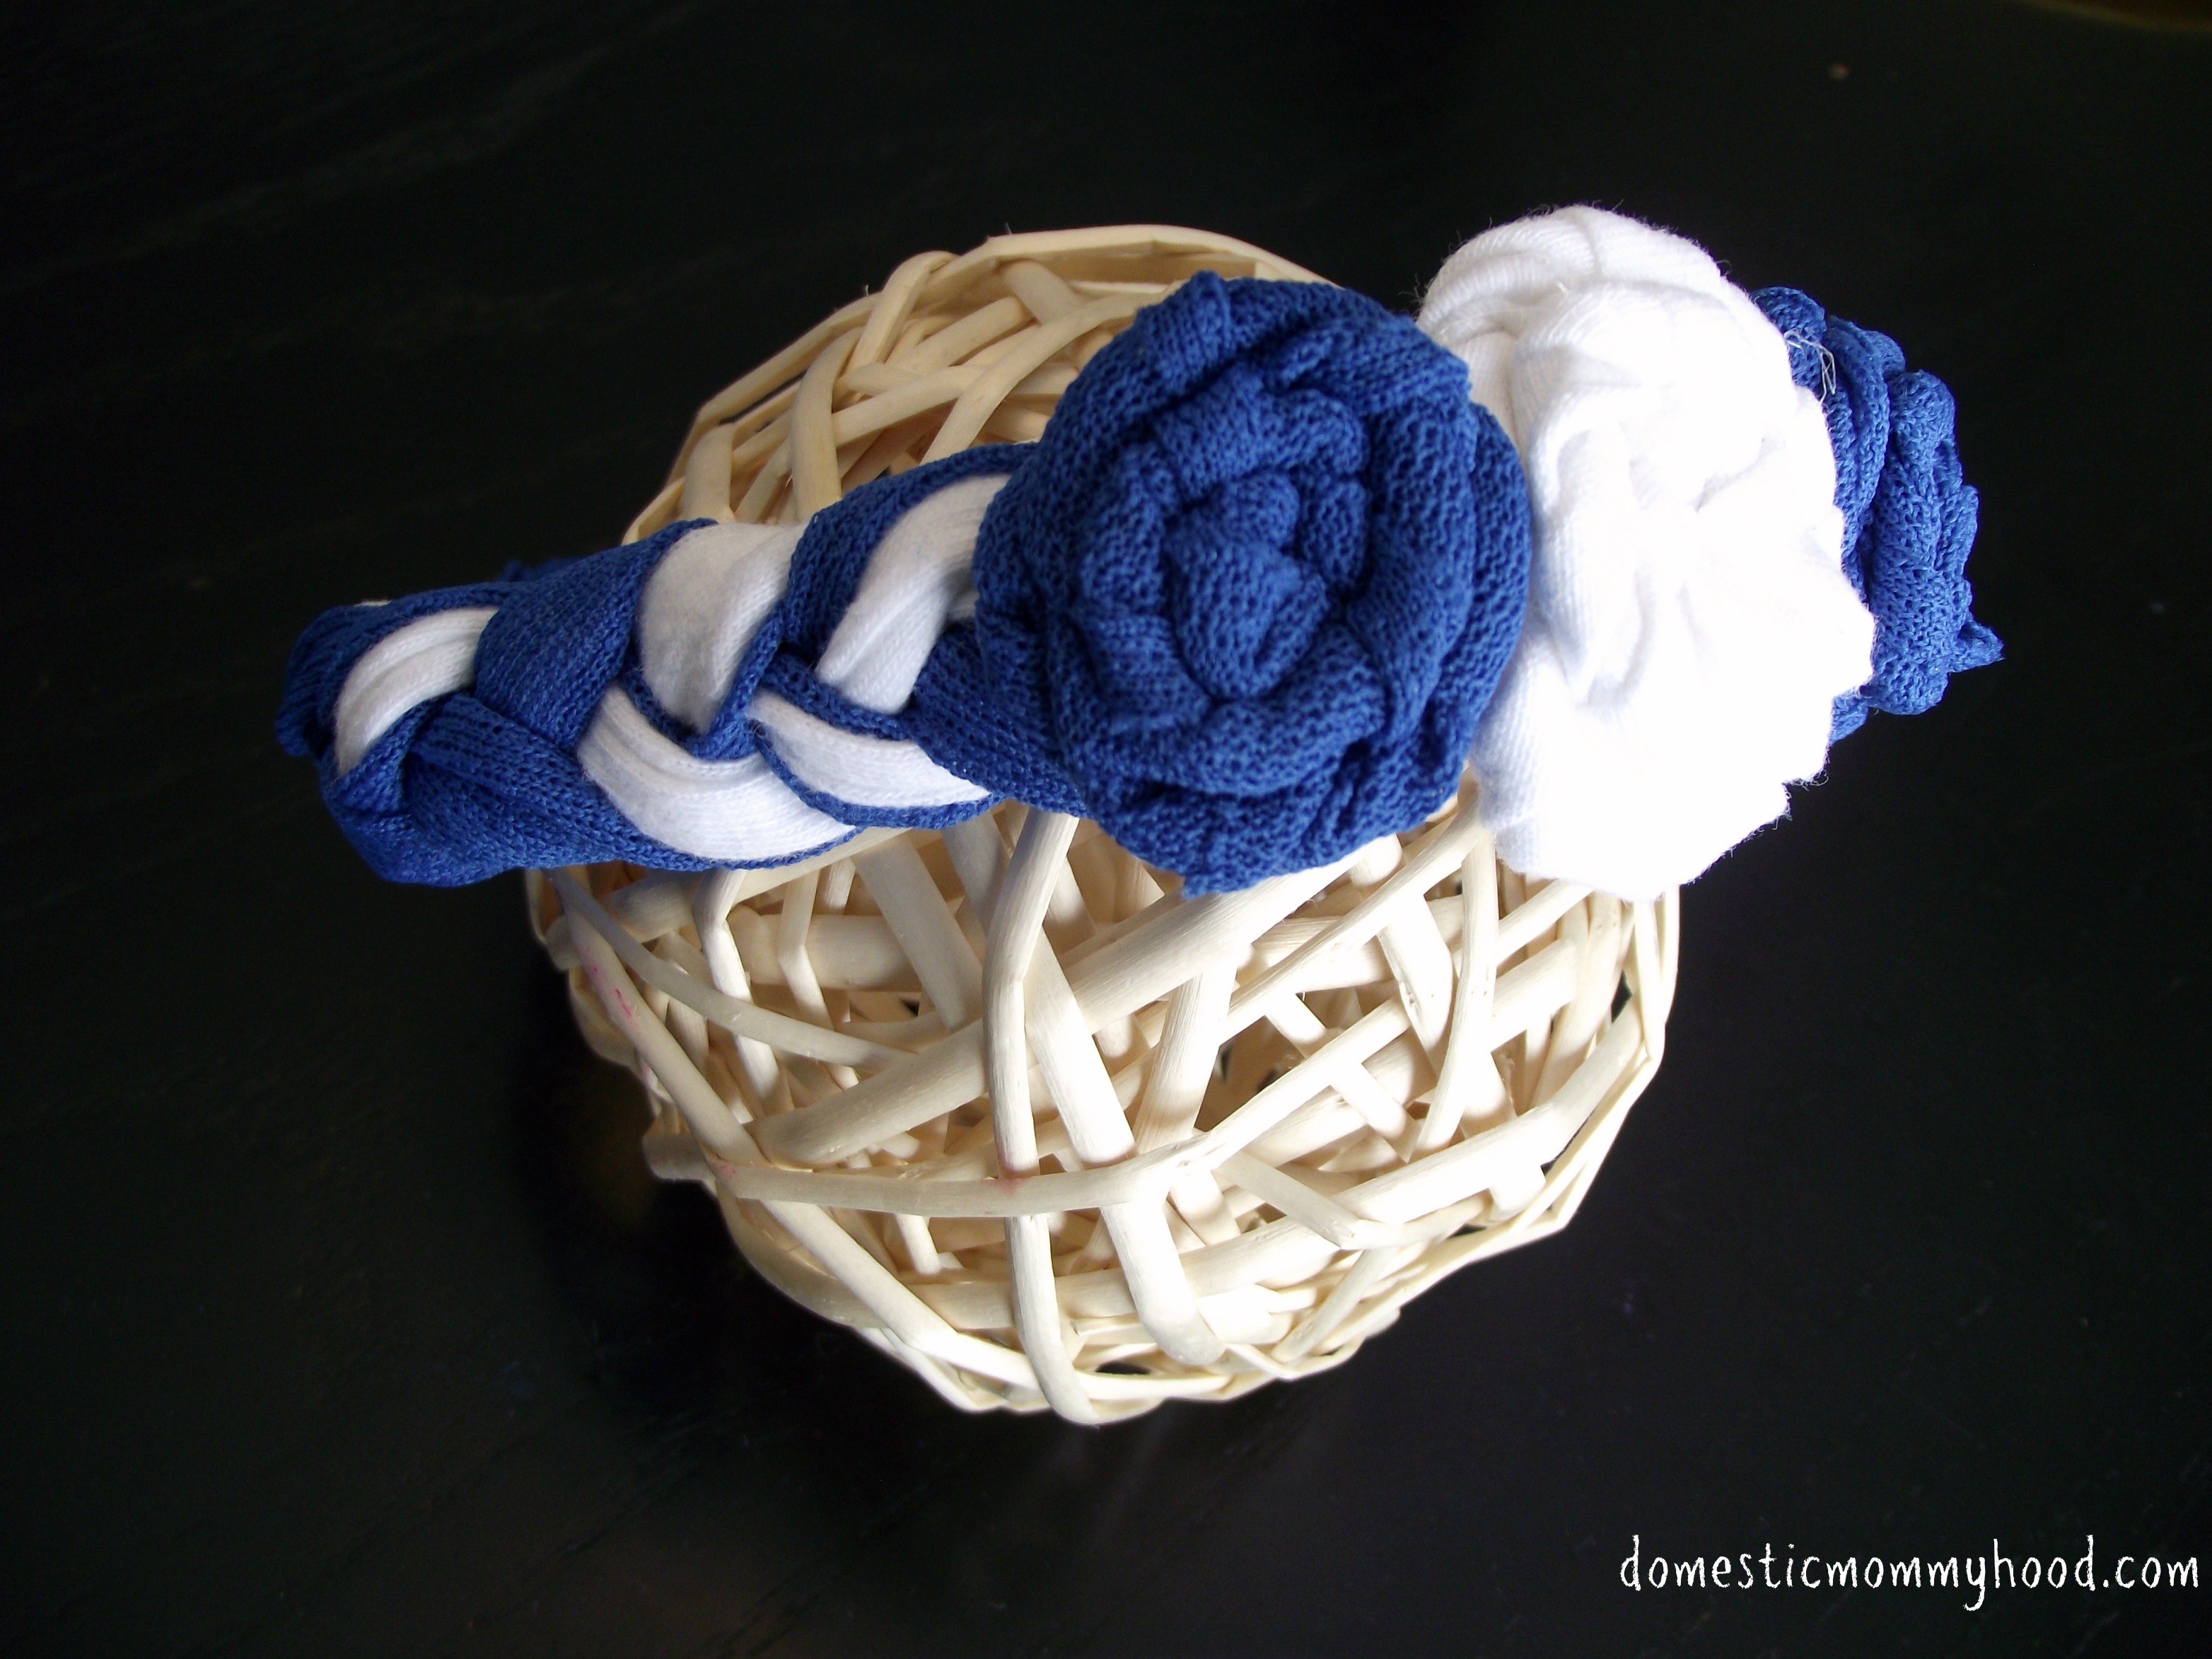
Step 8
Lastly, sew the flowers to the braided band with your needle and thread, making sure to secure well.
Leave a Reply