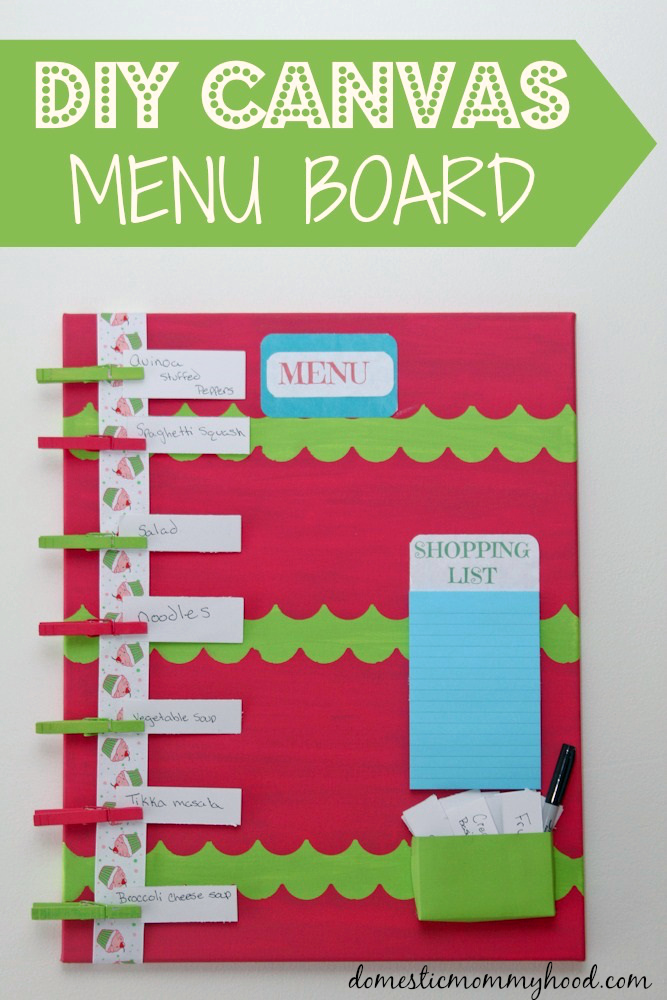
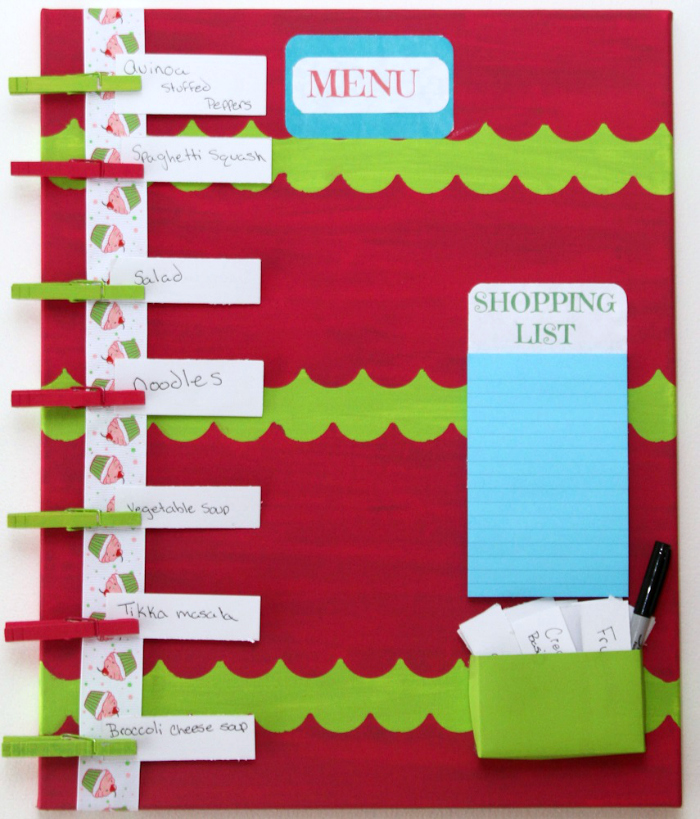
I have learned one thing from being a stay at home mom and that is the fact that making a menu and creating a shopping list before you go shopping can save you loads of money. Doing this can be quite boring but with a little creativity I came up with a cute little board that makes it fun to do and it looks super cute hanging on the kitchen wall.
Since implementing the menu board system my whole family has become involved in the planning of our menu, shopping and learning to save money together. They all look forward to knowing what we are having for dinner every night! I have received so many compliments from friends and family and figured I had better share it with you guys so you can make one for your home also. I hope you all enjoy!
How to make a Menu Board
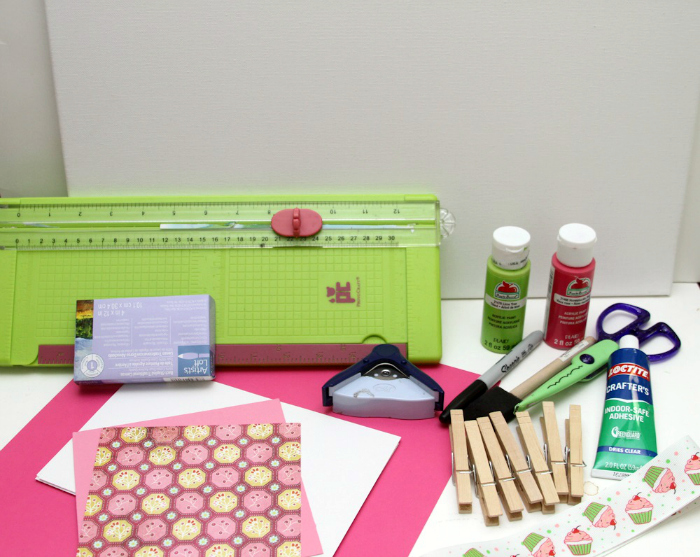
SUPPLIES
- 1 Canvas – 16 x 20
- Lime Green Acrylic Paint
- Hot Pink Acrylic Paint
- Foam paint brush
- 24” piece of ribbon
- Scallop Shape Tape by FrogTape
- 7 clothes pins
- Super glue
- Poster board
- Plain paper
- 4×6 sticky note pad
- Sharpie
- Printer
DIRECTIONS
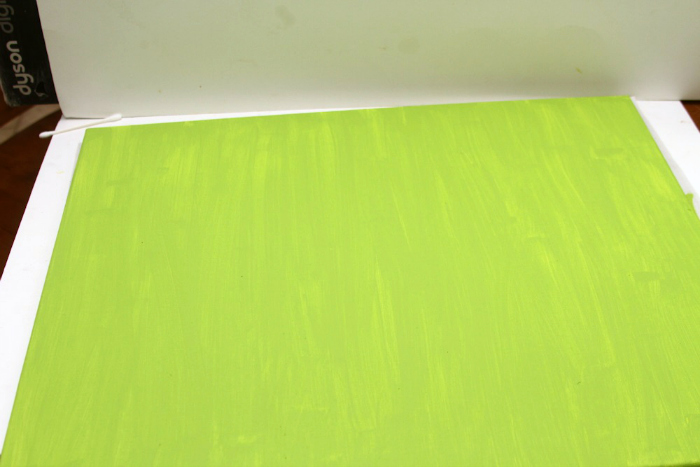
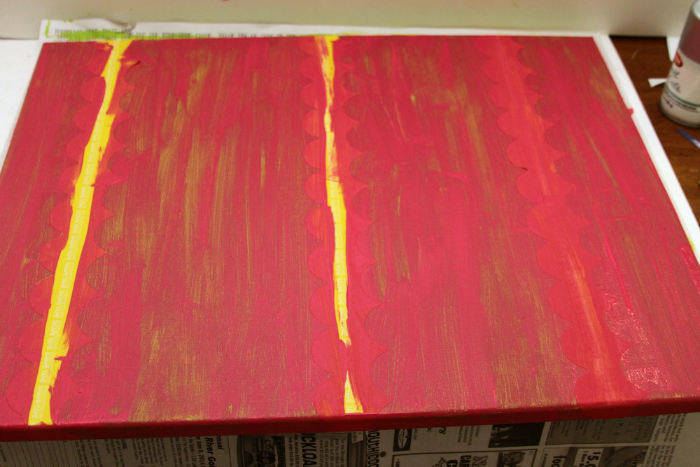
Step 1: Paint the canvas green, and let dry.
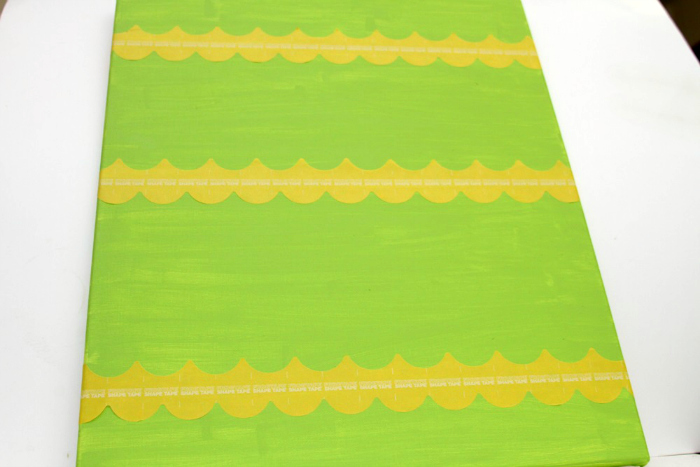
Step 2: Place three lengths of scallop shape tape across the canvas.
Step 3: Paint the non-taped area of the canvas pink and let it dry.
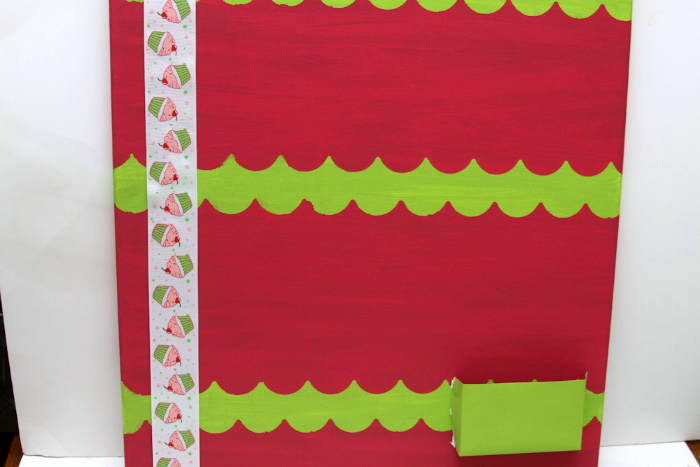
Step 4: Carefully remove the tape. This will leave 3 green stripes across the canvas.
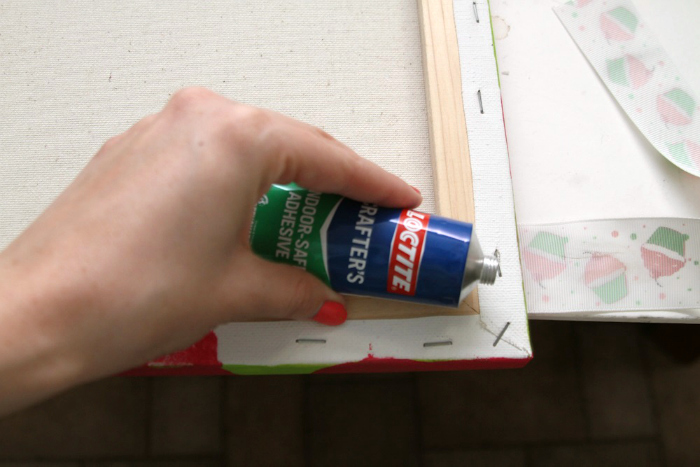
Step 5: Glue one end of the ribbon to the top back of canvas. Stretch ribbon along front of canvas and secure end to the bottom back of canvas.
Step 6: Paint the clothespins green and pink
Step 7: Use a small piece of poster board to create a pocket. Paint it green.
Step 8: Use the super glue to glue the pocket to the canvas.
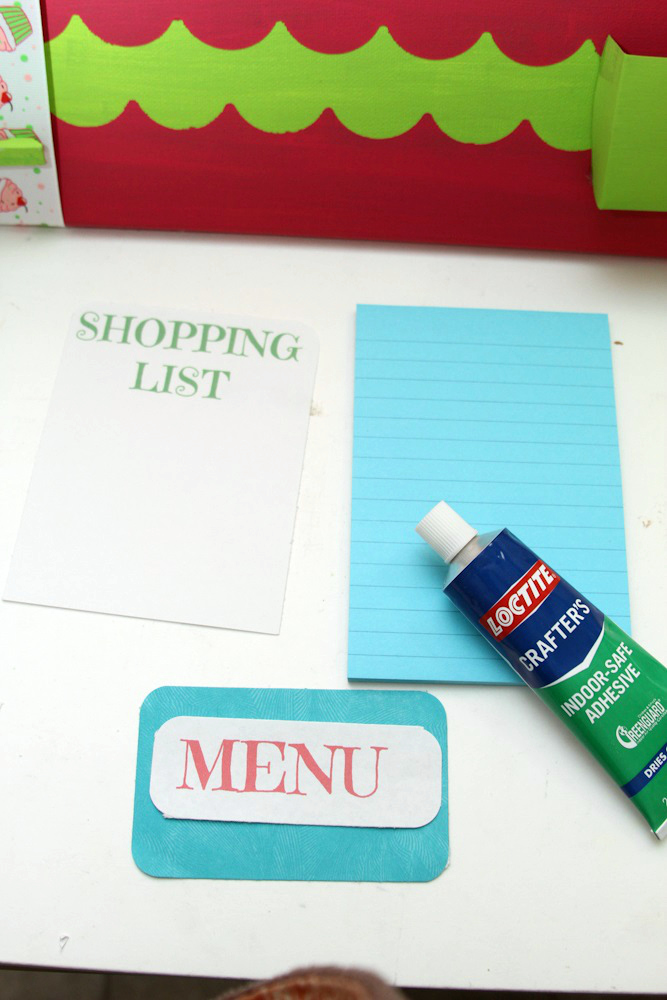
Step 9: Use software of choice to create and print “menu” and “shopping list” titles. These were created using picmonkey.com for the example.
Step 10: Cut 20 2”x4” rectangles from plain paper. Write one menu idea per slip of paper.
Step 11: Attach a 4×6 sticky pad to the board for the shopping list.
Step 12: Clip clothespins along the length of the ribbon. Pin one menu idea to each clothespin.


I really like this idea. I’m getting ready to get back in the habit of planning out our menus and this is a great way to display them. Thanks for sharing!
Love this! I moved my menu board off the fridge and I keep forgetting to use it!
Thanks for coming by the Wonderful Wednesday Blog Hop. Love your post and appreciate you taking the time to share.
Blessings,
Shari
This is a cool craft that can help me keep up with what’s on our menu. My menu board is so plain that I sometime don’t even look at it. Thinking about it I have not looked at it since we moved and we moved in October 2013. Maybe decorating it will help me. Thanks for sharing at Turn It Up Tuesday
This is so cute! Thank you for sharing at The Wednesday Round Up! I am sharing this on my FB page at 1:55 pm CT today! http://www.facebook.com/LovePastaBlog
We hope to see you back next week at the party!
Visiting from the Cook it, Crafts it, Share it link up. Awesome DIY! Love this idea! 😀
Thanks for sharing this awesome DIY project at our Cook it! Craft it! Share it! Link Party. Pinning for later -Doree
Frog tape is so intriguing! Cute project! A great addition to any kitchen.
Bekki…we featured this on Share it Sunday! Hope you have a fabulous week. Loved the project and thinks its fabulous for a great childrens summer project!!
Thank you for the feature!! Headed to share now!
Love this and the colors are fantastic! Such a great idea and it would keep me more organized! Thanks for sharing at The Wednesday Roundup and hope to see you there again!