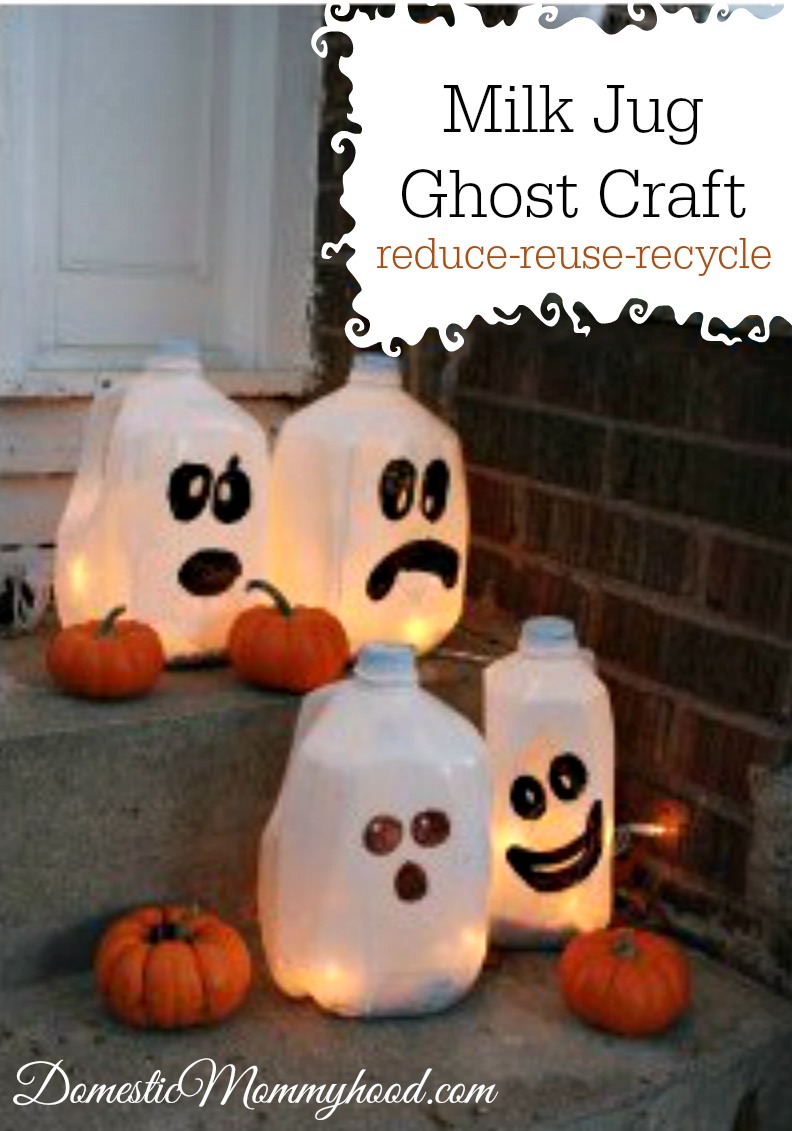
Milk Jug Ghost Craft
I know you have seen them around town. Those sweet glowing milk jug ghost hanging out on everyone’s front porch. Then you think about how hard they must be to put together and you drop the idea and gaze longingly at your neighbors porch.
Folks…….. let me tell ya, they are just not that hard. As a matter of fact milk jug ghost are probably one of the easiest things you will make.
Now before we get rockin and a rollin on today’s craft, let’s talk a little about Halloween.
Halloween is my absolute favorite time of the year!! I love the weather and all of the fun activities and curling up by a campfire with my kiddos! So I blog a lot about Halloween. Here are some of my number one posts about Halloween.
- Great Ways to Use Halloween Candy (pin this one for later here)
- Halloween Safety Checklist Printable
- Learning Resource- Free Pre-K Halloween Printable Pack
- Last but not least, here are some awesome Pumpkin Crafts for Kids!
Enough jabbering for me today! Let’s get down to how to make these awesome glowing mik jug ghosts!
Items Needed
- Milk Jug (We use 1 for each person in our family)
- Scissors (Please take care of the cutting mom and dad. It’s a simple hole in the back 😉
- Permanent marker or black paint
- White Paint (if you have white jugs you can skip this part)
- Something heavy so your scary ghosts don’t fly away. (We used old fish aquarium rocks but any rocks or pebbles will do. You can always use dirt if you have nothing else)
- Small pack of white craft lights. (They are battery operated and you can find them for $1 at the local dollar store)
That is about all you need for the milk jug ghost craft folks!
Directions
- Take your white paint and some paint brushes and let the kiddos paint the whole milk jug white. If your jugs are already white feel free to skip this part. Kids love making messes so take them outside and let them paint away.
- We let the jugs dry overnight and worked on them more the next day.
- Now it’s time for a little parent help. Cut a whole in the back of the jug big enough to put your rocks or dirt in and to also hold the light strands. Cut it up a couple inches so your rocks don’t come tumbling out of the back. Your putting them in there as a weight just to keep the jugs from falling over or blowing away in the wind.
- Now it’s time for the kids to be creative. Have them use the markers or black paint and add the eyes and mouth. Don’t hover over them or tell them that is not where the eyes go. It’s their project and their ghost can look anyway they want it to! They are artists after all. 😉
- Now it’s time to add the lights. We actually put the lights in there and then went inside to make some hot cocoa and take a quick bath. It wasn’t quite dark yet outside. Once we were ready for bed we stepped out front and turned on your glowing milk jug ghosts and the girls faces lit up.
See there ya go! Simple and fun! I’m sure it took me longer to tell you how to do it then to complete it yourself! It’s an easy craft to do and a great way to recycle those old milk jugs.
Feel free to shoot me an email with a picture of your fantastic milk jug ghost crafts and I will be happy to add them to the posts!!
Do you have any Halloween Kids Crafts that are a favorite at your house!! Shoot me an email with some pictures and how to and I will see about getting your idea featured on DomesticMommyhood!


[…] Milk Jug Ghost […]